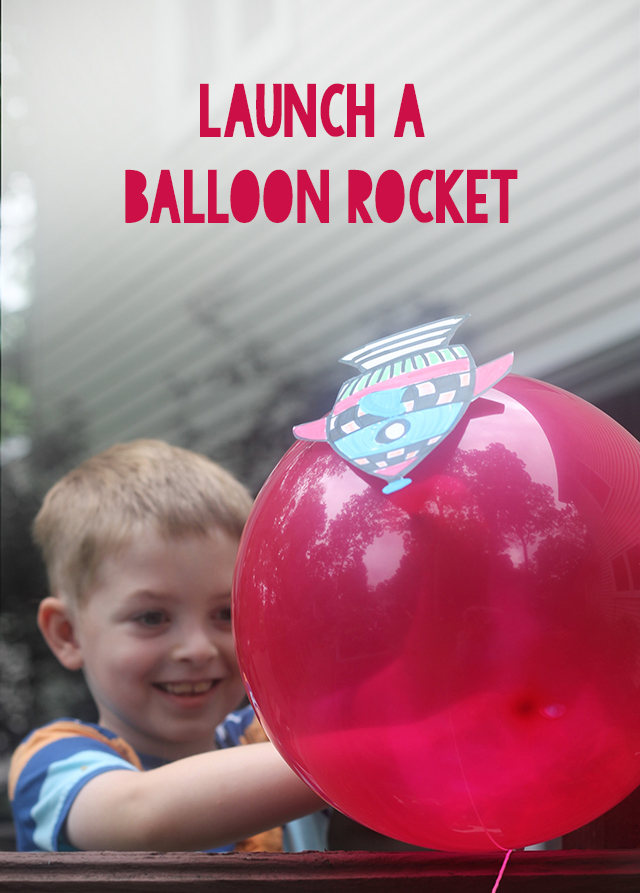
Watch how the force of air leaving a balloon can launch a rocket!
Balloons are always around our house, usually used for balloon volleyball, and today we're transforming them into rockets! Have you launched a balloon rocket before? It's a simple way to show cause and effect and a fun way to have races in the backyard (or in the living room on a rainy/snowy day).
Watch how the force of air leaving a balloon can launch a rocket!
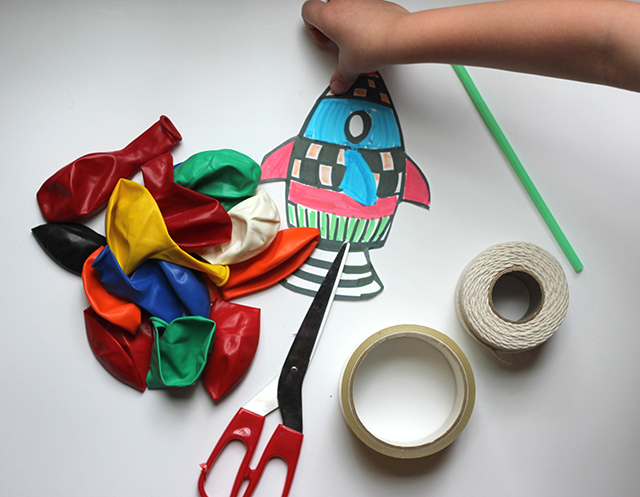
To make your own you'll need, balloons, scissors, string, a straw, tape (we used packing tape to make sure our straw and balloon stayed together), and an image of rocket. We drew ours on some poster board. Any image you create or print will work just fine as long as it's not too heavy.
Select an elevated course to use: we decided to go from the post on our back deck which is three stairs off the ground down to the grass. If you're indoors, you can go from a cabinet handle or a railing to the floor. With the rope, I tied one end around a deck post. On the other end I threaded half of a straw through until it reached back up top to the post. That straw piece is your rocket launcher and keeps your balloon from swirling and twirling all over the place.

Grab a helper or secure the lower end of the rope. My son was all about assisting on this one! Next, blow up the balloon. Blow it all the way up and hold the end tight. Do not tie it off.
While keeping it securely closed with your hand, add the rocket to the top with tape. We rolled some tape on the back of the rocket beforehand so it was easy to do quickly. Put tape around the straw as well so that it attaches well to the balloon. We lost a few rockets when the balloons became detached from the straws.
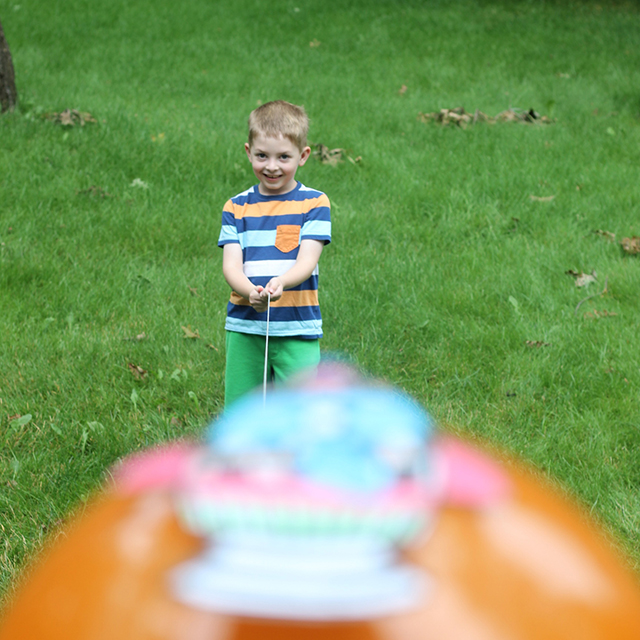
The best part of this activity for me was seeing his excited face at the other end of the line! "Come on, Mom, another rocket!!"
Make a dramatic countdown - 10. 9. 8.... And all at once, release your grip on the end of the balloon and let your rocket shoot out! Make sure your string is tight, your straw is straight, and your balloon is really full of air to get the most our your rocket launch!
Enjoy, enjoy!
XOXO, MJ
P.S. We're forming constellations tomorrow with pins, string, and a corkboard!