
and the world around us a little braver, @brenebrown Courageous truths call for full-on rainbows, don’t you think? Grateful for strong women leaders like Brene who are changing the way we see ourselves and love those around us. #parscaeliwords

and the world around us a little braver, @brenebrown Courageous truths call for full-on rainbows, don’t you think? Grateful for strong women leaders like Brene who are changing the way we see ourselves and love those around us. #parscaeliwords

A quick and fun way to bring music into your summer! Create a scale with water and food coloring and let your children try out their own music.
Water makes beautiful music! And through this simple activity with food coloring, eight identical glasses, and water, you can discover an entire musical scale.
In our home, we always have music playing (or are playing music) so when I saw this graphic on E is for Explore, I knew our kids would enjoy creating their own color-infused instrument. The beauty of this activity is that it's great for any time of year, uses what you already have, and clean up is super fast, too. It also teaches measurement and fractions, pitch, color mixing, and so much more!
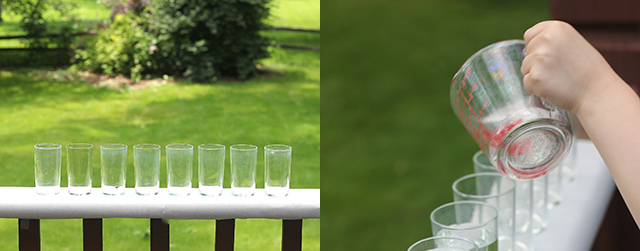
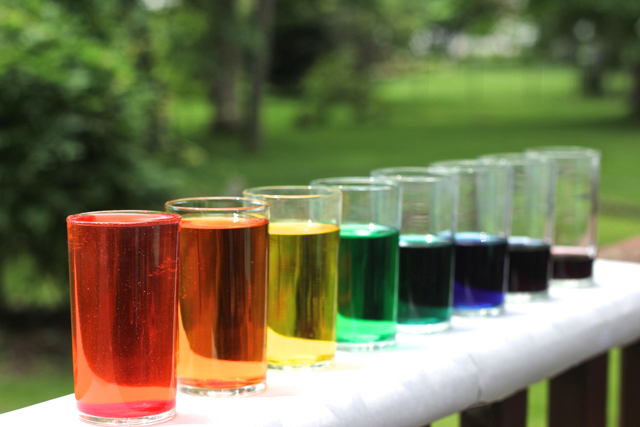
We used 8, 8-oz. glasses and filled them in with measurements of 8 oz., 7 oz., 6 oz., 5 oz., 4 oz., 3 oz., 2 oz., and 1 oz.. Once the glasses were full, we began the color process. Everyone was able to mix their favorite color with a wooden skewer until we have a spectrum of eight colors.

We used our silverware as the mallet for the water xylophone. At first, the kids just wanted to hit the full run of notes, up and down, along the sides. But the more they hit the glasses, the more they began to recognize music within the collection of sounds.
Can you name the tune we're playing?
We tried recreating simple songs that we all know. And as we did so, we adjusted the amount of water in each glass. Did that note sound too sharp? Or too flat? And we'd add or pour out water accordingly.
A quick and fun way to bring music into your summer! Create a scale with water and food coloring and let your children try out their own music.
Have you ever tried this out for yourself? The food coloring is not necessary, but it definitely adds to the fun!! And perfect for a sunny day.
XOXO, MJ
P.S. Don't forget to check out all the ideas for the 18 Summers Challenge by searching for #18SummersChallenge. We're continuing with explosions and transformations tomorrow with our own volcanoes and soda pops!
I'm delighted to show you a simple, quick, low budget project that you (or your kids or grandma or neighbors) can craft in minutes and enjoy for weeks to come.
Last week I joined some other great bloggers to put together baggies of crafts for the Happy Craft Cart that St. Jude's Research Hospital offers its patients.
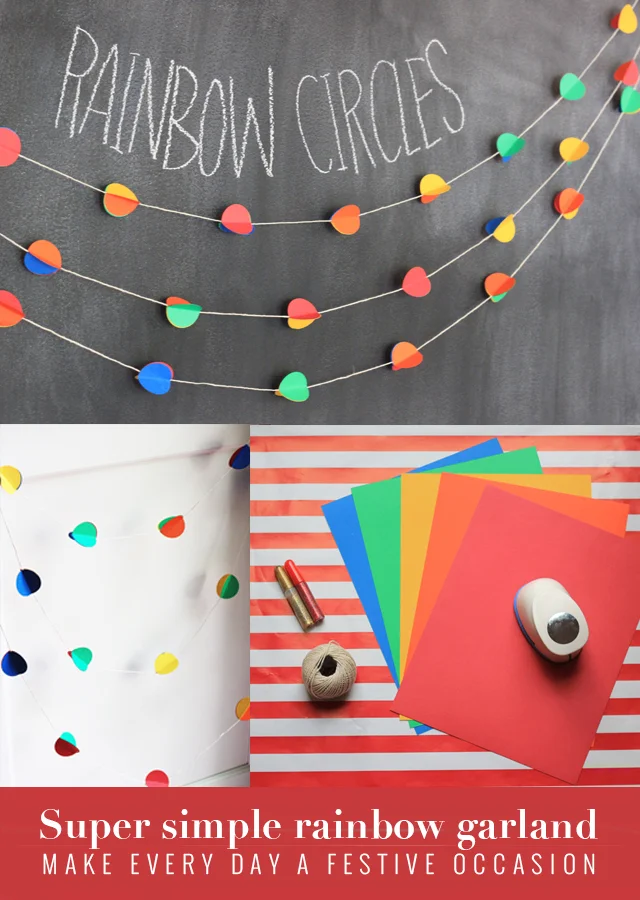
Hoping for something festive and fun, I thought rainbows. How about a Rainbow Circle Garland?!

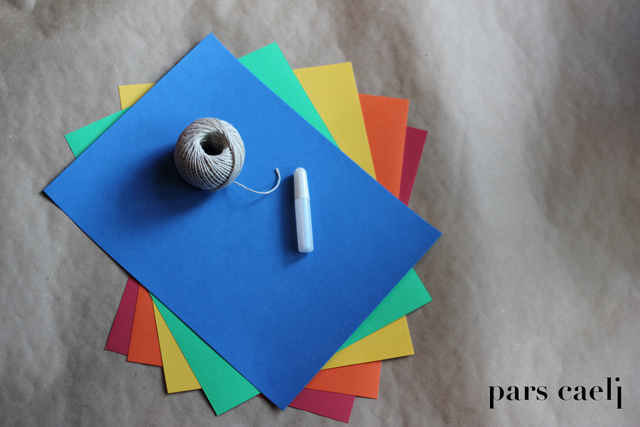
All you need:

Step One: Decide how long you want your garland or strand (if you want to hang them from a door frame or above a window). Cut twine.
Step Two: Punch out circles. Each circle cluster is a triad so you'll need three times as many circles as you want to glue on.

Step Three: Pick three of your circles. Fold them in half. Glue the back halves of each circle. Press two of the circle halves together, sandwiching the twine in between them. Glue the final circle to the other halves. *To make sure you get a rainbow effect, keep switching the combination of three colors.

Step Four: Find a spot that needs some cheer. Hang over a headboard, around a curtain rod, from a door frame, or lay across a table to surround yourself in rainbows.

Garlands spread festivity, don't you think?

What are you making this week?
XOXO, MJ

Well, hello, friends! How was the weekend? We were busy bees over here, and I'm excited to welcome you to a new Pars Caeli feature, Make It Mondays!!
Every Monday we'll kick off the week with a fun project for your home, your children, yourself, or something else magical. You then have the whole week and weekend to find some time to fit the fun into your schedule!
Why the new addition? Three simple reasons: 1.You beautiful readers have eaten up the DIY posts I've featured here and there on the blog. 2. I'm always looking for ways that this webhome can be more helpful to your life outside of cyberspace (there is still one out there, right?). 3. I can't pass up an opportunity for alliteration wherever I can find it. :)
So, on with the fun...

I carved out time this weekend, between football games and birthday parties, for some prep of our St. Jude DIY date with other wonderful blogger friends. You and I have until Wednesday to submit pictures to Louise. Special thanks to Paige(who is right now living it up in NYC for New York Fashion Week!!) for thinking up this crafty goodness. To sum it up, we're all making kits for the Happy Craft Cart of St. Jude's Research Hospital. These baggies will contain the supplies needed to make a simple craft and lift a child's spirit in the process.
I knew that I wanted to grab my kiddos and get them involved in the creation of these bags. I've started a Pinterest board for anyone who wants some ideas (go, go visit!!). Introducing my 7-year old to Pinterest was a trip. She's hooked.
We were blown away by a few crafts by Minieco, and we decided to give them a go. Have you seen her photos and crafts(wo)manship? Outstanding!!
Our first batch of Happy Cart Crafts will be baggies of these glitter paper beads. Some of the kits will have the beads already made so that younger artists (under 7) will still feel confident in their results, and other kits will have the paper and glittler glue needed to make it all from scratch!

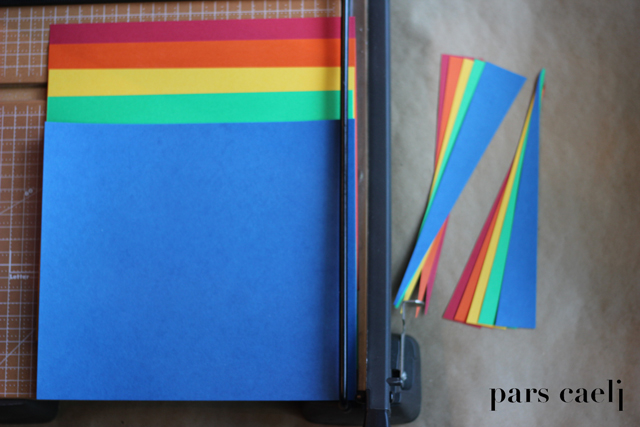
This is an incredibly budget-friendly (slightly time intensive) craft that all three of my children enjoyed. Here's what you need:
First step? Cut isoceles (ish) triangles out of your paper. Ours were about an inch at the thick end.
Next, begin with the thick end and tightly (the key!) wind the entire triangle around the skewer. We made different shapes by doing this. Some beads were exactly symmetrical, some looked more like cones or party hats, and others looked like a wobbly top.
As you get close to the end of the wrapped paper, squirt a dollop of glitter glue on the front and back of the end tail and graciously smear it all over the end and the rest of the bead. This will help secure the tight wrap and spread the glitter around the whole bead.
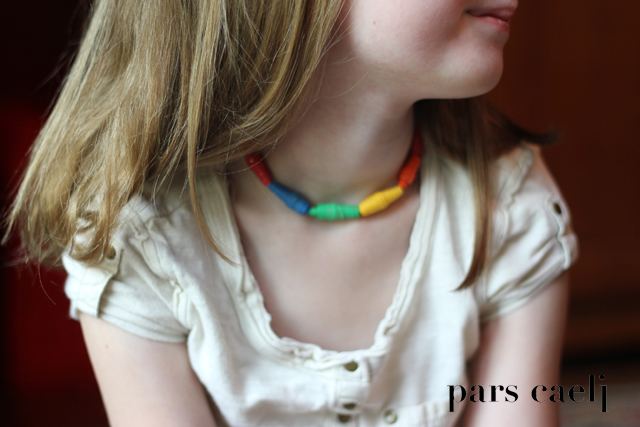
Once the bead is secured, carefully remove it from the skewer and let it dry for a few minutes before crafting further. We spent an evening making all our beads and the next afternoon making accessories out of them.

My 7-year old REALLY got into this project. She's a talky crafter so I had the pleasure of hearing her elaborate on how good she felt creating something she knew would make other children–children who really needed it–happy. She alone made half the beads, and she made me very proud. Again.

She's anxious to make more Happy Cart Crafts, and we'll be sharing those with you, too! Beads like these work well when made from magazines, too. Maybe you and/or your kiddos would like to give them a try?!
 And because little brothers like to get in on everything, here's little L's anklet.
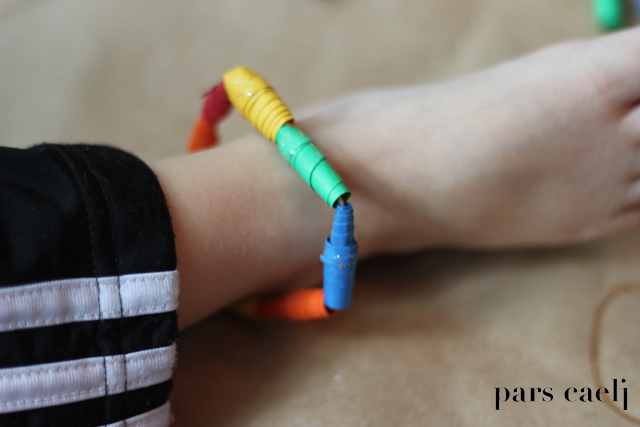 Thanks for stopping in on Make It Monday! It's gonna be a great week, friends.
XOXO, MJ