Do you know how many school days there are left for your children?
I do–19.
I would describe my feelings about 19 days left as a lively mixture of anticipation, excitement, and . . . dread. Summer has all sorts of blissful expectations (particularly in this part of the world where good weather shines on us a few months a year), and I so want it to be a fun, low-key, fabulous time for my three children AND me. The ten-week summer is also a ton of time together–potentially getting on each other nerves, saying "I'm bored" too often, and falling back on electronic devices for each of us.
But I'm not going to let my fledgling fears get in the way of a great summer. So, here's what I'm doing, and I really hope you'll join in, too.
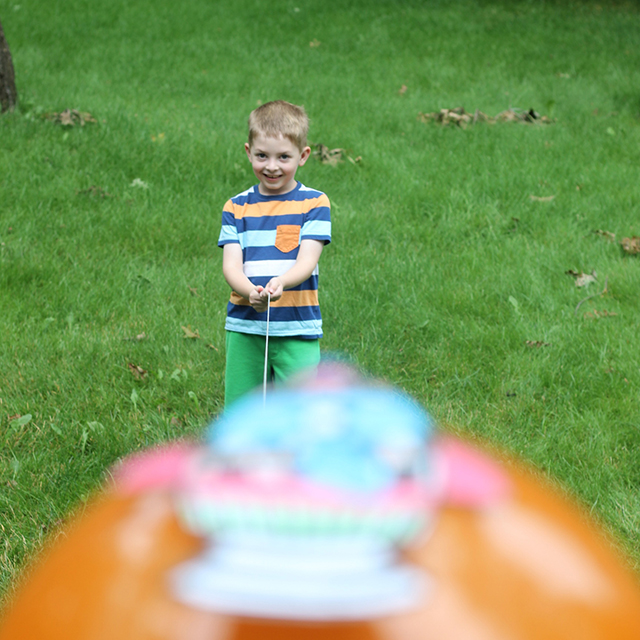
We're going to approach our summer with a spirit of curiosity. Curiosity builds to creativity and diverse ways to view the world and the people who inhabit it.
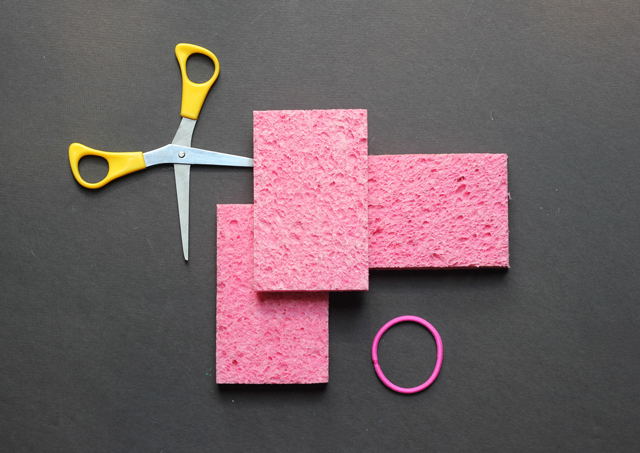
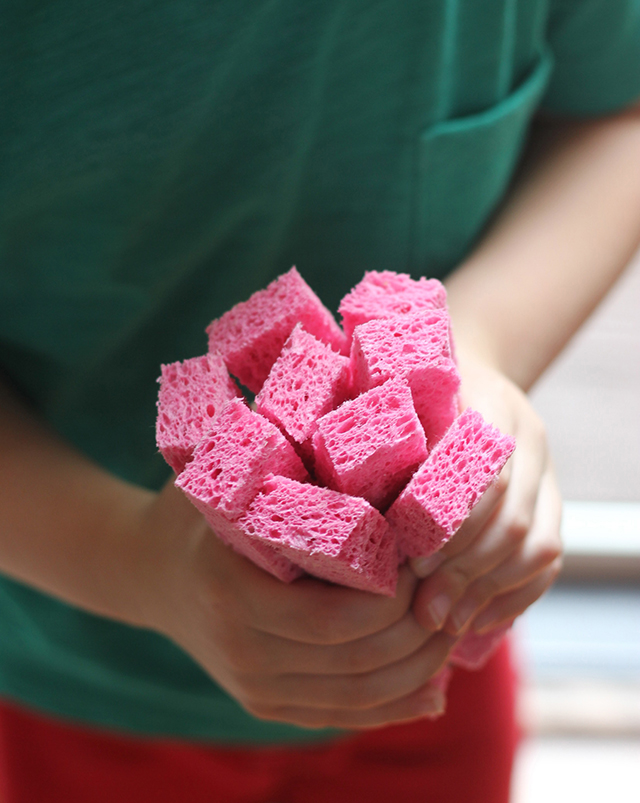
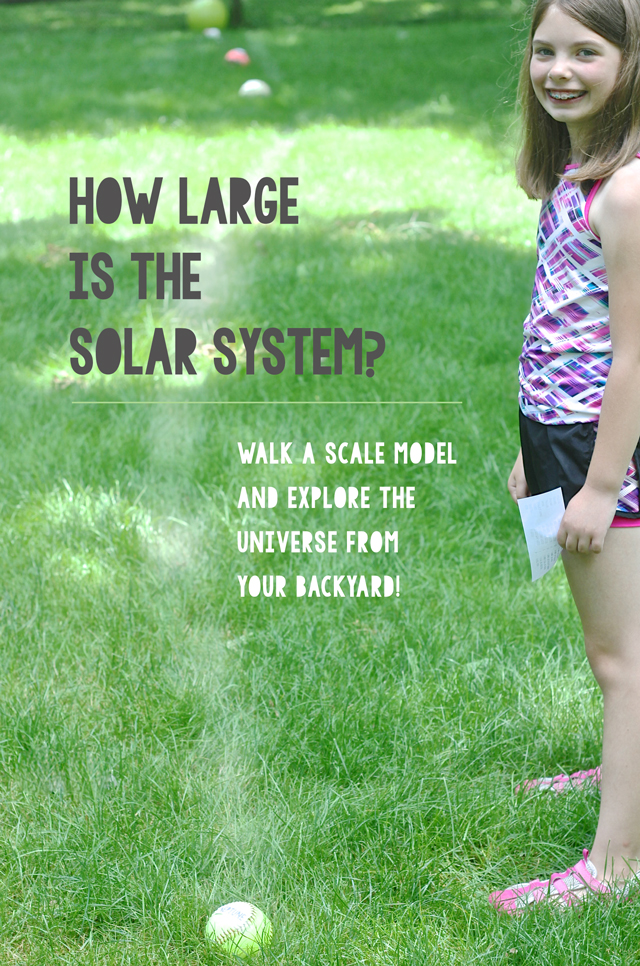
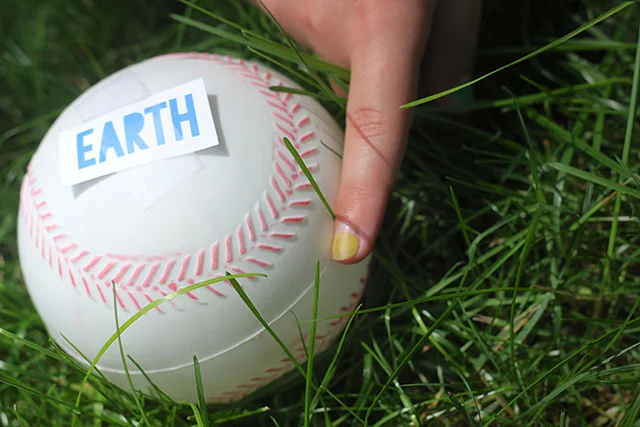
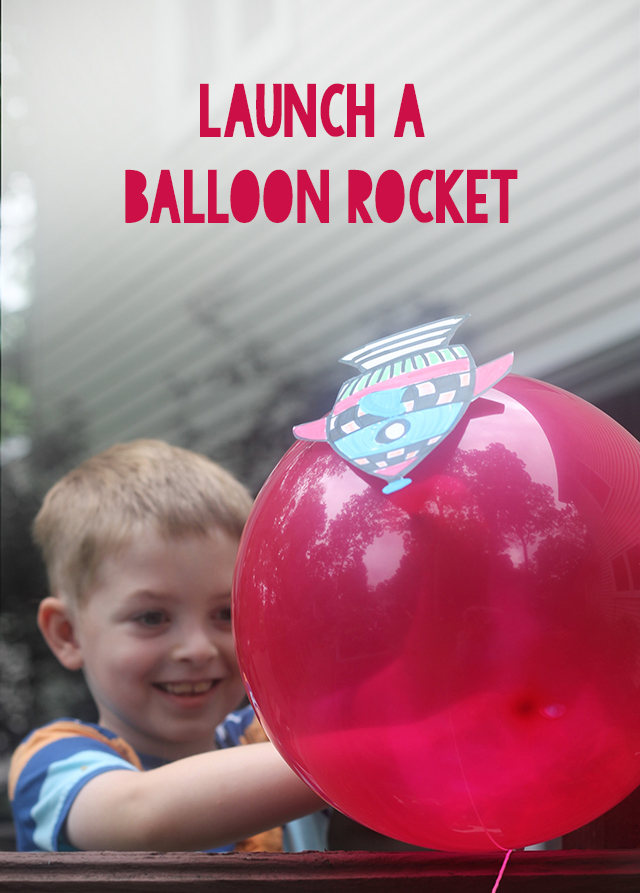
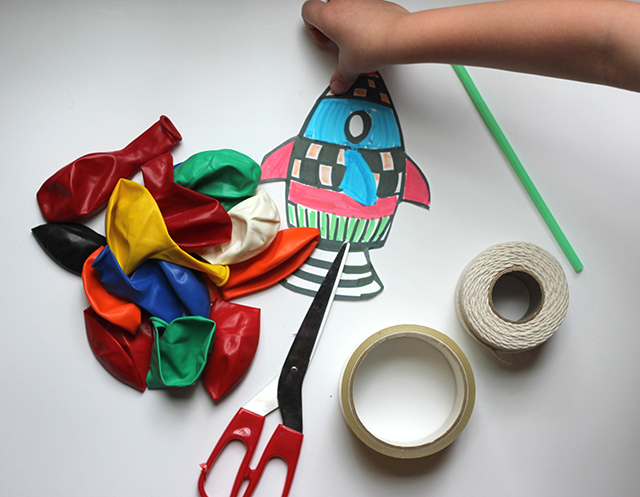
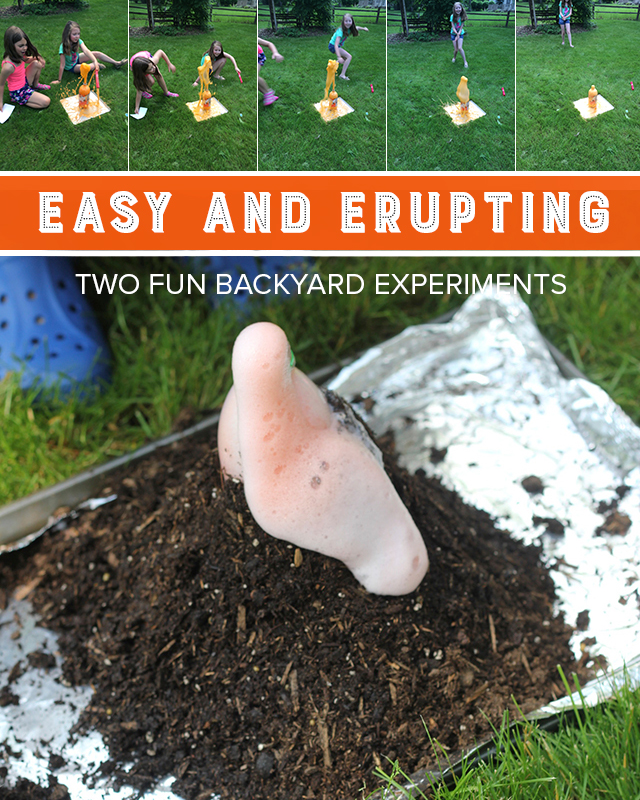
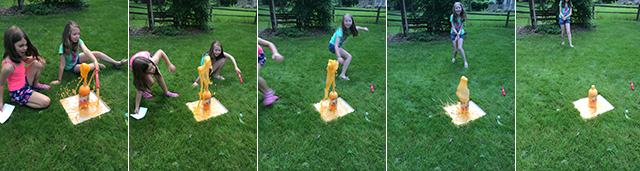
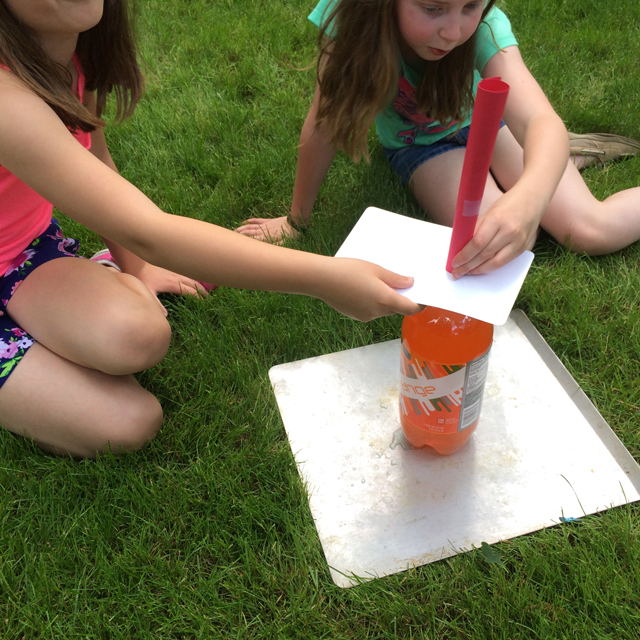
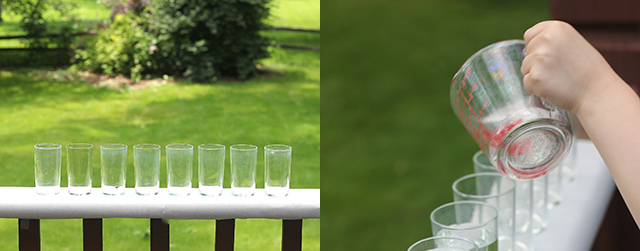
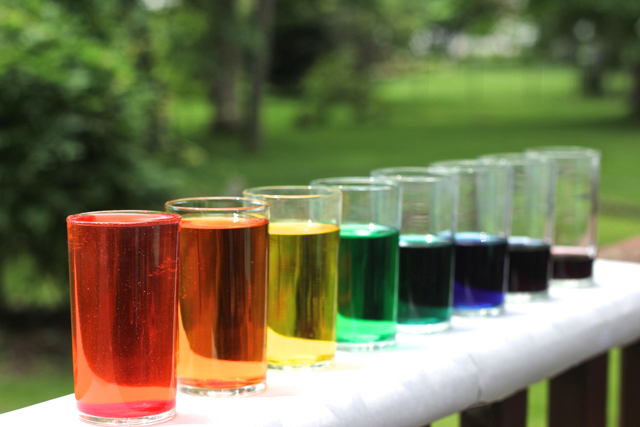
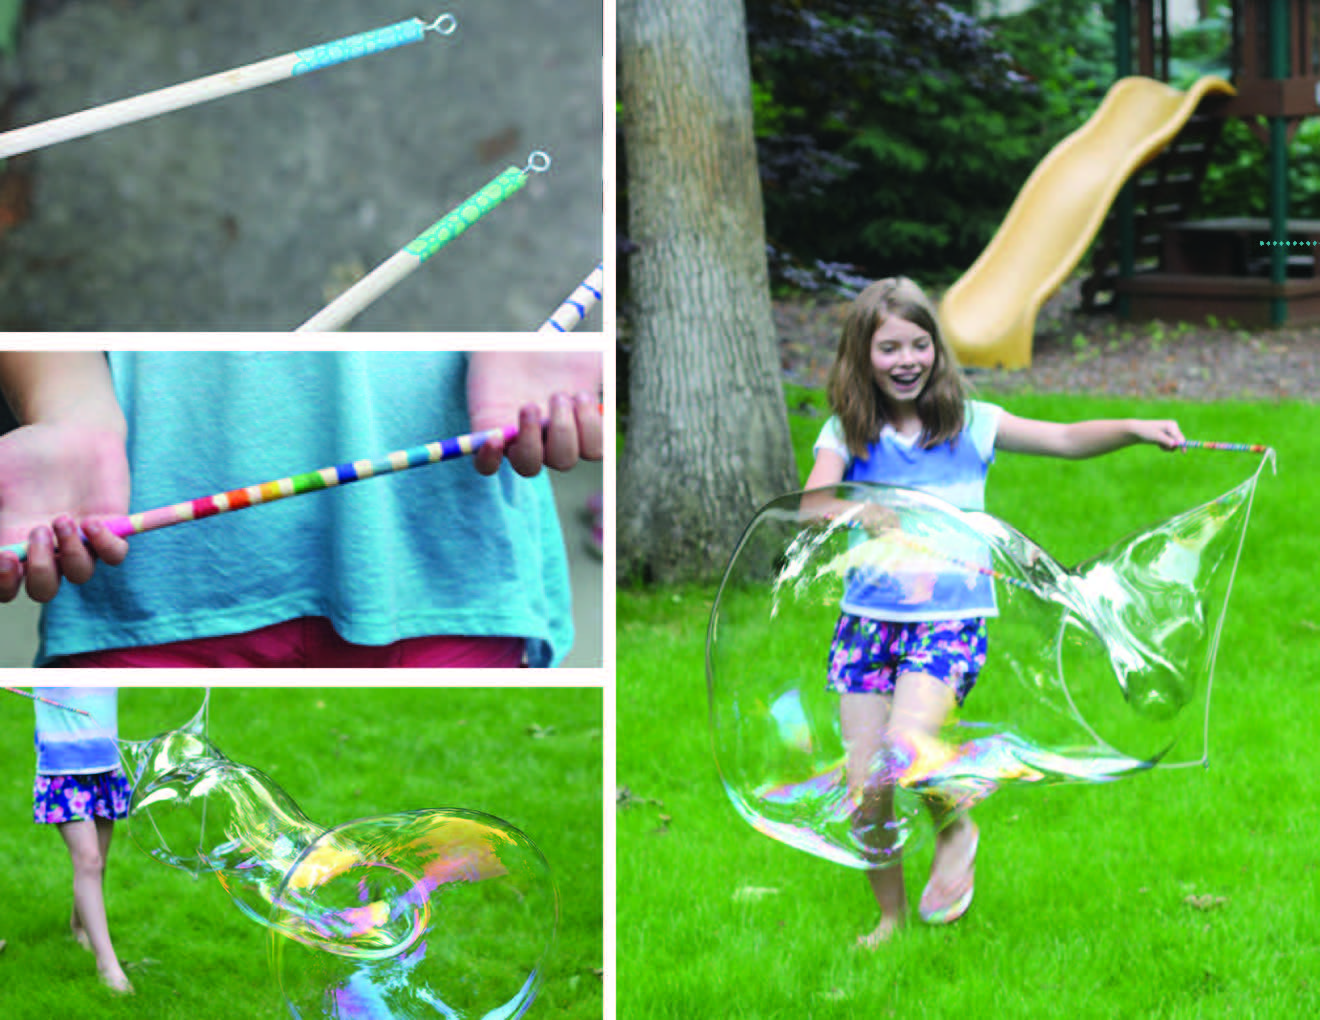
So we begin with this - what do you want to learn this summer? And we pursue their ideas. Secondly, we make our days colorful, messy, loud, and smelly. Many of the wonderful crafts and kitchen experiments that you may remember from childhood can be used to teach real learning, scientific concepts, art history, and so much more. There are also easy and high-quality projects you can do together with your kids that will make the summer weeks memorable and full.
I want to equip me and you with the best tools and possibilities to make this summer awesome. I’ve studied art to discover that possibilities are limitless, and I’ve studied education to learn how to share this knowledge with children. Bundling my experience with our need and desire to make this a wonderful June, July and August, let's be:
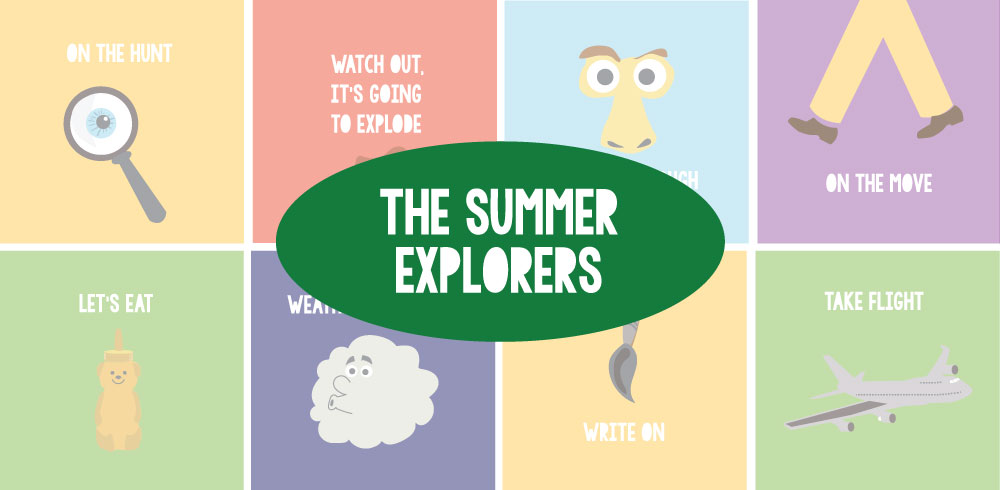
THE SUMMER EXPLORERS
PROJECTS FOR PARENTS AND CHILDREN TO DO TOGETHER
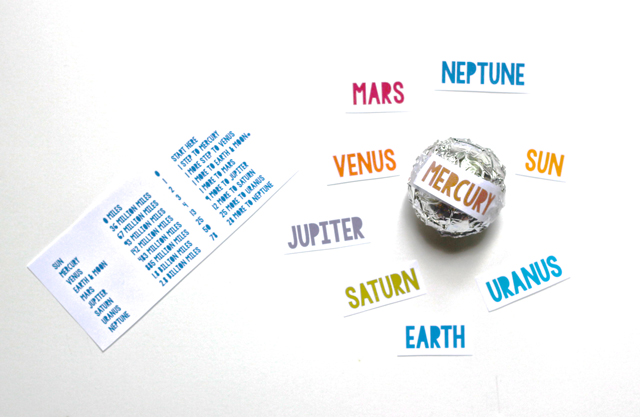
While it's been quiet here on the blog, I've been working on a book project that I'm transforming into weeks of fabulous information and projects for you and your kids!!! I'm so delighted to offer full, detailed weeks of ideas with printables, instructions, links, and how tos you can use right away (in 19 days!!).
You can select a la carte and receive a specific topic week, or you can invest in the whole summer and move ideas around to fit your schedule. These downloads will save you all the searching on Pinterest and Googling, eliminate the midday ponderings of what to do next, and they'll equip you with fun facts to make all the creating together a rich learning experience, too.
EVEN BETTER . . .
I want to offer you a built-in back up - a community of smart and involved moms who want to enjoy their summer, too!! With my pal, Amy Christie of This Heart of Mine, we're putting our heads together to form THE STRESS LESS MAMA. This group will be your pep squad, your tutor, your wicked smart best friend, and your spot to share all the hilarious that comes up. Amy and I are delighted to get to know and to help moms be more present and more themselves through tips, ideas, strategies, and the secret sauce (well, really, there's no secret sauce, but we'll dream together, m'kay?)
Please click over to see all of the bells and whistles I want to send your way!! Let's make this a wonderful summer for us AND our kids.