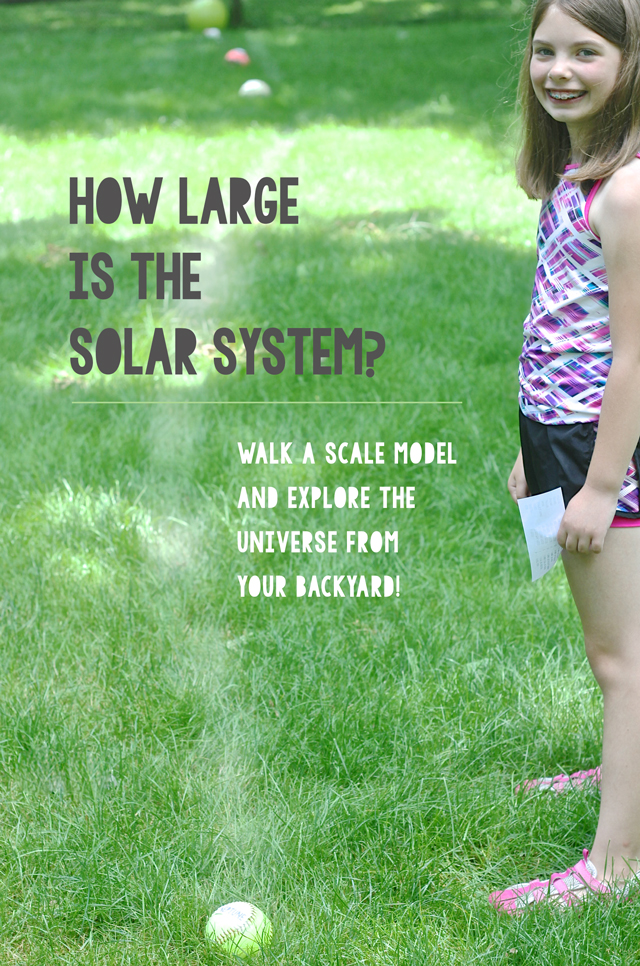
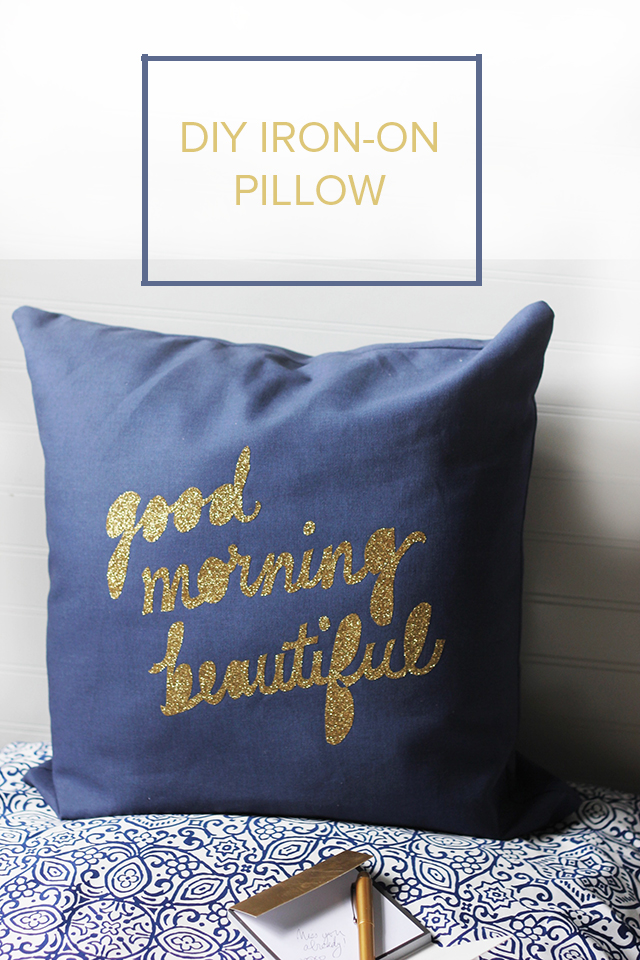
Do you remember making crayon scratch offs as a child? Enjoy the same fun with your children with firework art.
Crayon scratch off art is a fun project that shows off the bright colors that lie just below the dark, top layer. The contrast of the bright and dark make a great backdrop for firework art!
Did you make these as a child? I remember pressing so hard against a piece of white paper with my crayons, covering every last bit of white space. And then grabbing the black crayon to cover over it all.

For this firework art, you'll need:
- Posterboard or heavy paper
- Crayons or oil pastels
- Black tempera or acrylic paint
- Paintbrush
- A scratching tool like broken tip pencil or dull pen
Begin by covering your entire paper with color. We wanted to create a firework sky perfect for the fourth of July so we made a spiral of blue and red. Be sure to go all the way to the edges.

Next, paint on an even coat of the black. Let it dry completely. To be sure that the black is a solid, deep tone, add on another coat of black paint and let it dry. This whole process took less than an hour.
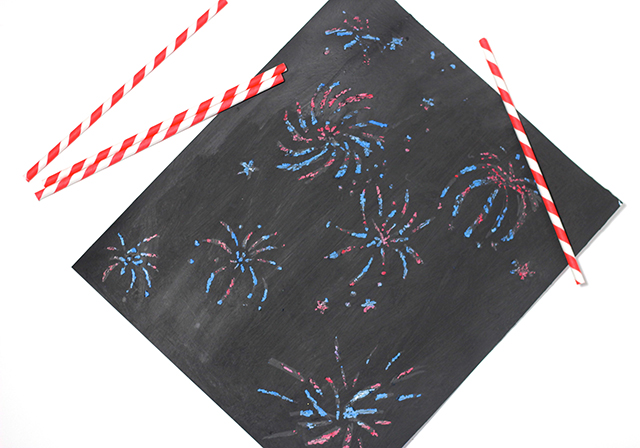
Once dry, take your scraping tool and draw fireworks of various shapes and sizes. Be sure to leave enough black on the paper to illustrate the night sky. Add in bits of sparkle and stars that shine through the shapes that you create.
Keep in mind that sometimes the paint will require a few strokes to remove completely. And some will remain on the poster board, making a scattered fizzle like we all love in our favorite fireworks!
These would be a great craft to set up for the kids at your July 4th celebrations! Fireworks before it even gets dark!
XOXO, MJ
P.S. If you're joining in the 18 Summers Challenge, and making the most out of this summer with your children, join us tomorrow as we make some marbelized paper from shaving cream and food coloring.